In the ever-evolving landscape of fitness and wellness, there’s a simple yet powerful tool that has captured the attention of athletes, fitness enthusiasts, and physical therapists alike. The foam roller, once relegated to the realm of physical therapy clinics, has now emerged as a staple in gyms, homes, and studios around the world. The foam roller exercises unassuming appearance belies its potential to revolutionize the way we approach exercise, recovery, and overall well-being.
- Benefits of the Foam Roller Exercises
- Targeting Specific Muscle Groups
- Basic and Advanced Routines
- How to choose the right roller for me?
Whether you’re a seasoned athlete looking to enhance your performance, someone seeking relief from the daily stresses placed on your body, or a newcomer to the world of fitness, foam roller exercises offer a myriad of benefits that extend far beyond their straightforward design. From targeting specific muscle groups to aiding in injury prevention, these exercises have the potential to become an integral part of your health journey.
We’re an affiliate. We hope you love the products we recommend! Just so you know, we may collect a share of sales or other compensation from the links on this page. Thank you if you use our links, we really appreciate it!
The Science Behind the Foam Roller Exercises
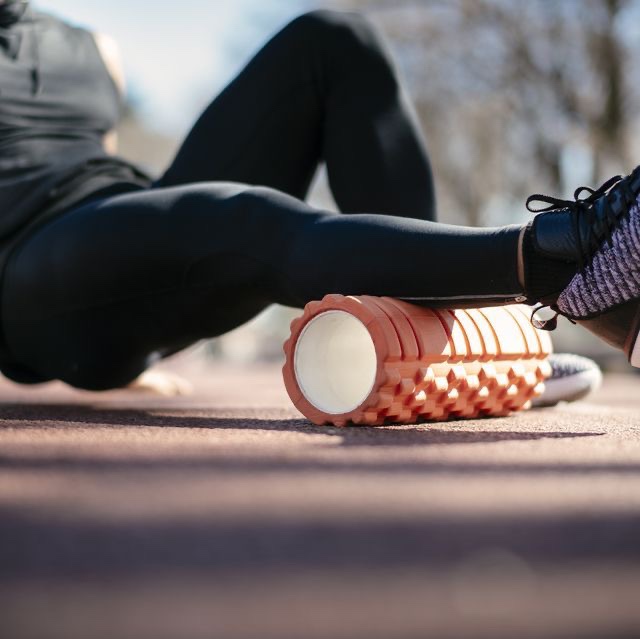
At first glance, a foam roller might appear to be nothing more than a cylindrical cushion. However, its deceptively simple structure holds the key to unlocking a wealth of health benefits. The concept behind foam roller exercises is rooted in a therapeutic technique known as self-myofascial release (SMR). Myofascial release involves applying gentle pressure to the body’s fascia—the connective tissue that surrounds muscles and organs—to alleviate tension, enhance blood flow, and promote relaxation.
When we engage in physical activities or experience stress, our muscles can develop knots and trigger points, resulting in discomfort and reduced flexibility. Foam roller exercises leverage the principle of SMR to target these tight spots and release built-up tension. By gently rolling various areas of the body over the foam roller’s surface, you can help break down adhesions in the fascia, increase blood circulation, and ultimately improve your range of motion.
Benefits Beyond the Surface of the Foam Roller Exercises
The advantages of incorporating foam roller exercises into your fitness routine extend far beyond the immediate relief they provide. Regular practice can contribute to an array of long-term benefits that contribute to your overall health and well-being. Some of these benefits include:
- Improved Flexibility and Range of Motion: As you release tension and tightness in your muscles, you’ll notice an increased ability to move your joints through their full range of motion. This newfound flexibility can translate to enhanced performance in sports and reduced risk of injuries.
- Enhanced Muscle Recovery: After an intense workout, your muscles need time to recover. Foam roller exercises can expedite this process by improving blood circulation to the muscles, aiding in the removal of waste products, and reducing post-exercise soreness.
- Injury Prevention: By targeting areas prone to tension and tightness, foam roller exercises can help prevent injuries caused by overuse or muscular imbalances. They also allow you to identify and address potential problem areas before they escalate into more serious issues.
- Stress Relief: The act of foam rolling can have a relaxing and meditative quality, helping to alleviate both physical and mental stress. Taking time for self-care through foam roller exercises can promote a sense of tranquility and mindfulness.
Exploring Foam Roller Exercises Techniques
As you delve deeper into the world of foam roller exercises, you’ll encounter a diverse range of techniques designed to target specific muscle groups and provide varying levels of pressure. Each technique serves a unique purpose, contributing to the overall efficacy of your foam rolling routine. Let’s take a closer look at some of the fundamental foam roller techniques you can incorporate into your practice:
1. Broad Sweeping Strokes:
This technique involves rolling the foam roller along the length of a muscle group in broad, sweeping motions. It’s an excellent starting point to warm up the muscles, increase blood flow, and prepare your body for more targeted work.
2. Pressure Points:
To address knots or tight spots in your muscles, pause the foam roller at a particular point where you feel tension. Maintain gentle pressure on the area for about 20-30 seconds or until you feel the tension start to release. Remember, it’s important to avoid excessive pressure or discomfort.
3. Cross-Fiber Friction:
Roll perpendicular to the muscle fibers, creating a cross-friction motion. This technique can be particularly effective in breaking up adhesions and scar tissue, promoting better muscle function and mobility.
4. Pin-and-Stretch:
In this technique, you’ll find a spot of tension, pause on it, and then actively move the joint associated with that muscle while maintaining pressure on the foam roller. This helps to lengthen and stretch the muscle fibers while releasing tension.
5. Lateral Rolling:
Roll the foam roller from side to side along the length of a muscle group. This is useful for targeting muscles that are situated deep within the body or close to bony structures.
6. Spinal Mobilization:
To promote spinal flexibility and alleviate tension along the spine, lie on the foam roller lengthwise, positioning it perpendicular to your body. Gently roll along the length of your spine while supporting your head and hips. Avoid rolling directly on your vertebrae.
7. IT Band Release:
To address the iliotibial (IT) band—a common source of discomfort for many athletes—lie on your side with the foam roller positioned under your hip. Roll from your hip to just above your knee, focusing on the outer thigh. Adjust the pressure as needed.
8. Piriformis Release:
Sit on the foam roller with one ankle crossed over the opposite knee. Shift your weight onto the crossed leg and roll back and forth, targeting the area beneath the glutes. This can help alleviate tightness in the piriformis muscle, which can contribute to lower back and hip discomfort.
Remember, while foam roller exercises can be incredibly beneficial, it’s crucial to approach them with mindfulness and care. Avoid rolling directly over joints, bony areas, or areas with acute pain. Gradually ease into the pressure, and if you’re new to foam rolling, start with shorter sessions to allow your body to adapt.
By incorporating these various techniques into your foam rolling routine, you’ll be able to address specific muscle groups, release tension, and enhance your overall mobility. Experiment with different techniques to find what works best for your body and your individual needs. As you become more familiar with the sensations and responses of your muscles, you’ll be better equipped to create a personalized foam rolling routine that supports your journey toward better health.

Targeting Specific Muscle Groups with the Foam Roller Exercises
To maximize the benefits of foam roller exercises, it’s essential to target specific muscle groups that are often prone to tension, tightness, or overuse. Here, we’ll delve into some common muscle groups and explore how foam rolling can benefit each area:
1. Quadriceps:
Begin by placing the foam roller under your thighs while in a plank position. Roll from your hips to just above your knees, focusing on any tight spots. To increase the intensity, try rolling one leg at a time or cross one leg over the other to isolate the pressure.
2. Hamstrings:
Sit on the foam roller with your hamstrings resting on top. Roll from your glutes to just above your knees. To target different parts of your hamstrings, angle your legs inward or outward while rolling.
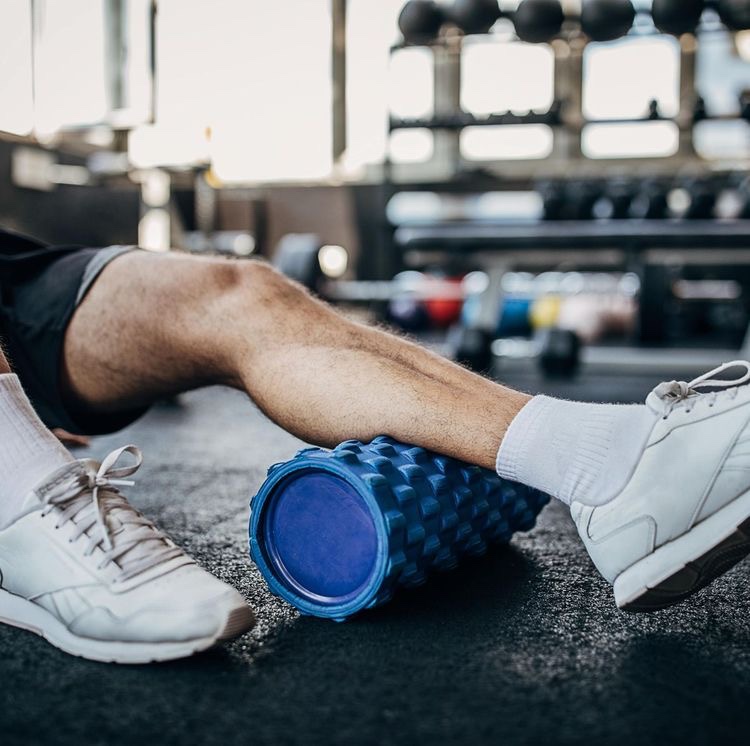
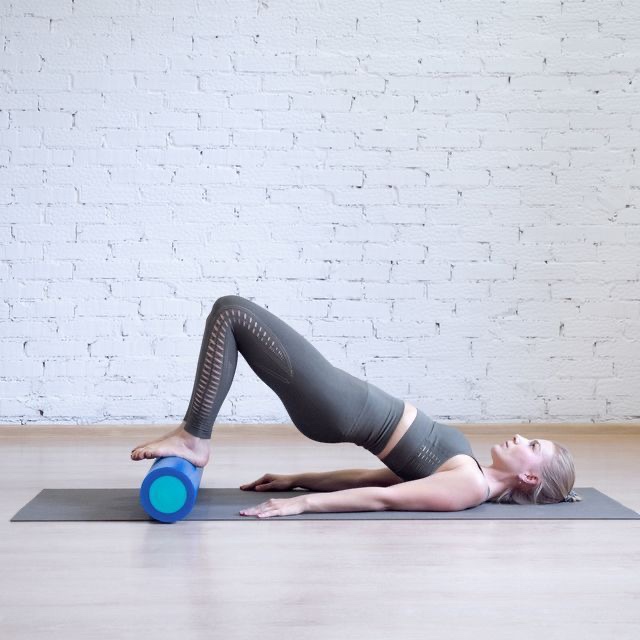
3. Calves:
Sit on the floor with your legs extended and the foam roller positioned under your calves. Roll from your ankles to just below your knees. To increase pressure, stack one leg on top of the other.
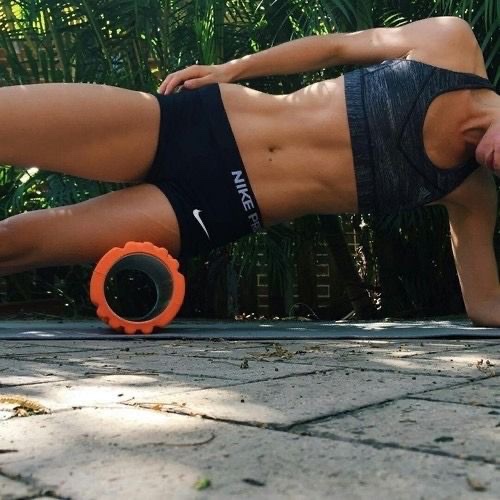
4. Iliotibial (IT) Band:
Lie on your side with the foam roller positioned just below your hip. Roll along the outer thigh from the hip to just above the knee. Adjust your body angle to focus on different parts of the IT band.
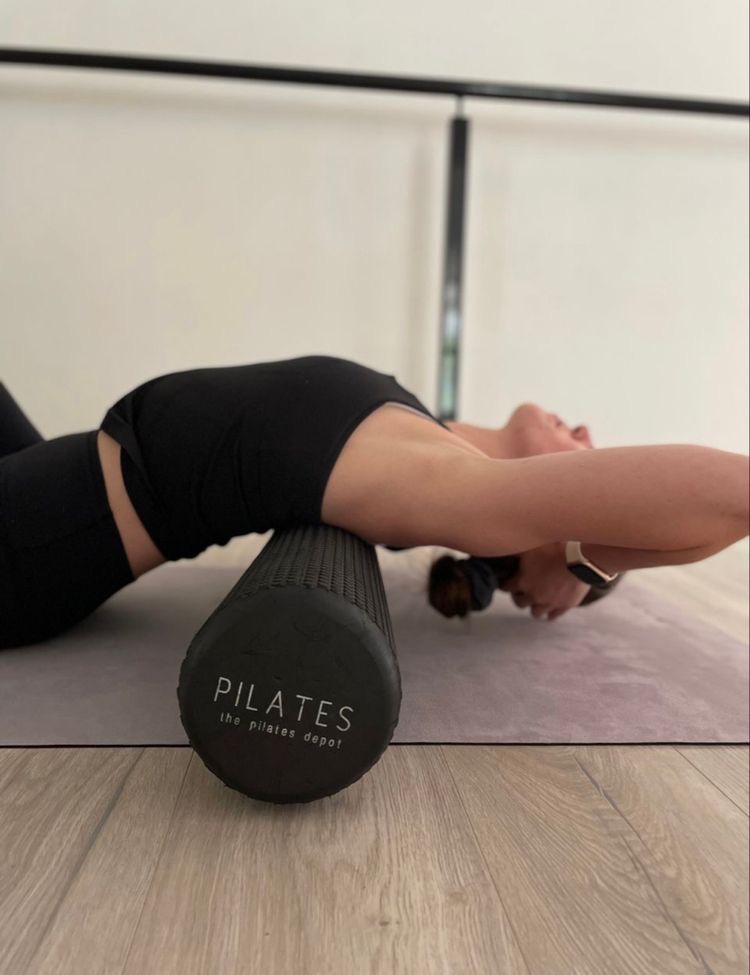
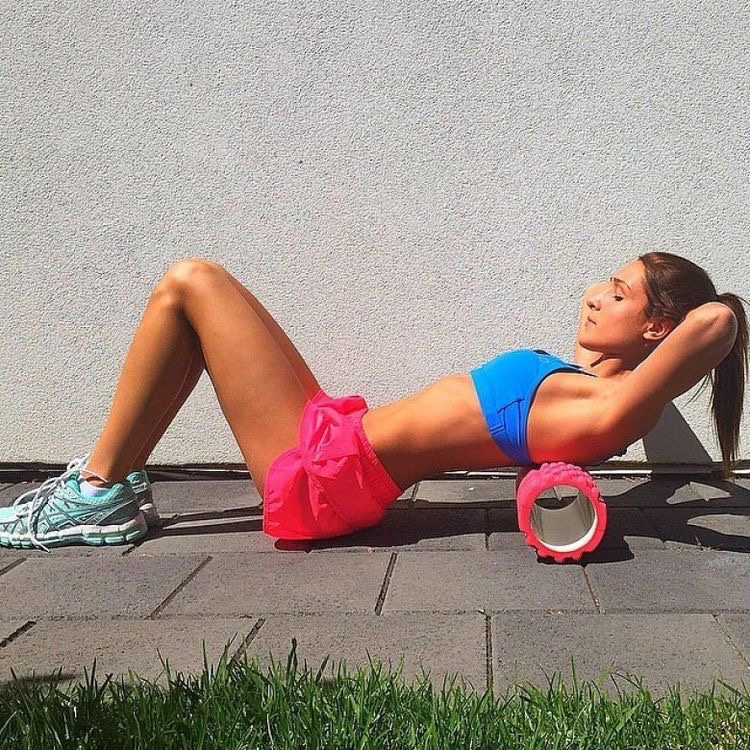
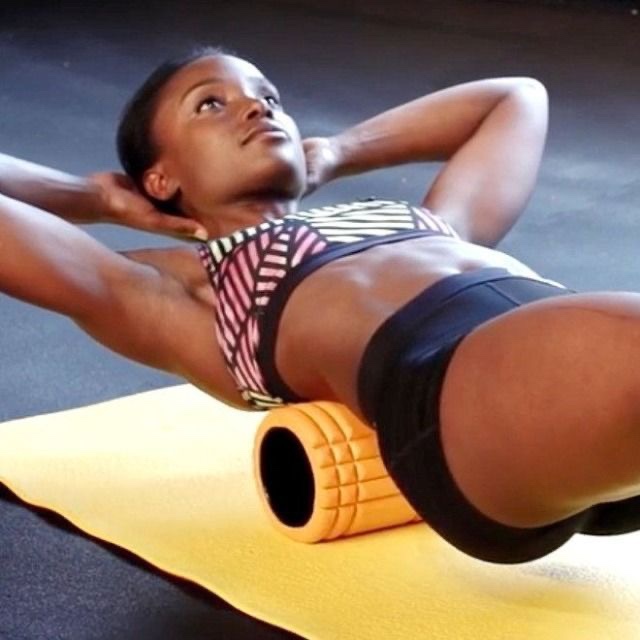
5. Back Muscles:
Lie on your back with the foam roller positioned under your upper back. Gently roll from the middle to the upper back, supporting your head with your hands. Avoid rolling directly on the lower back.
6. Lats:
Lie on your side with the foam roller placed under your armpit and the arm of the same side extended overhead. Roll from the armpit to just above the waist, focusing on the lateral muscles.
7. Glutes:
Sit on the foam roller with one ankle crossed over the opposite knee. Shift your weight onto the crossed leg and roll back and forth, targeting the glutes. To intensify the stretch, lean slightly to one side.
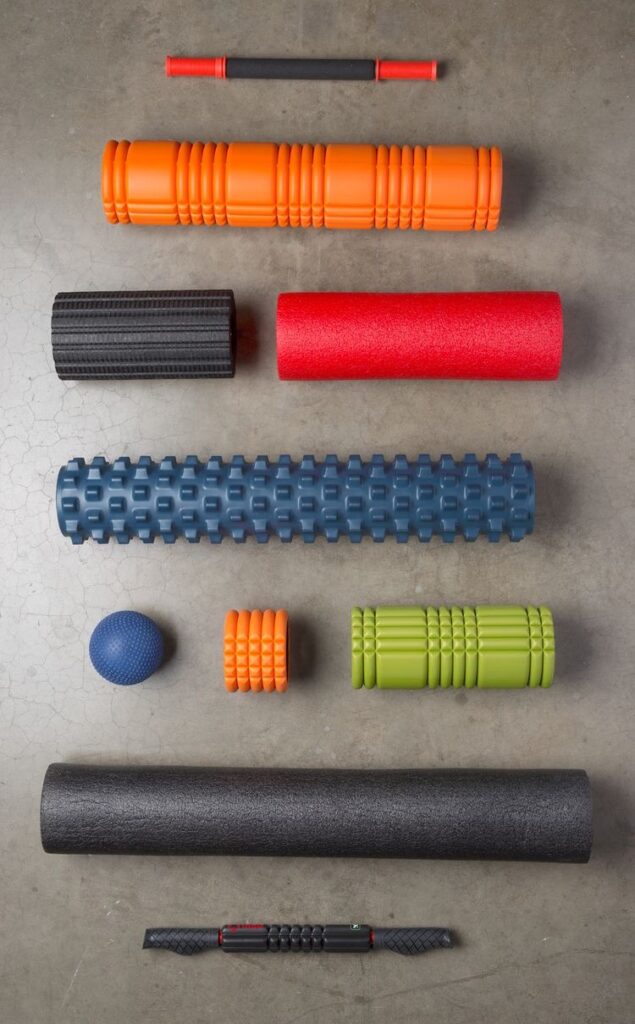
How to choose the right roller for me?
Choosing the right foam roller involves assessing factors such as density, firmness, size, texture, material, and specific needs. Consider your comfort level with different firmness levels and whether you prefer a smooth or textured surface for a more intense massage. Determine the size and length that suits your exercise space and portability needs, and weigh the durability of materials like EVA foam. Reading user reviews can provide insights into real-world performance, and if possible, try out different options before purchasing. Take into account any specific muscle groups or areas you need to target, and consult professionals if you have medical concerns. Ultimately, the ideal foam roller aligns with your preferences, addresses your needs, and enhances your fitness routine while fitting within your budget.
Here are our personal picks for Foam Rollers based on all the factors we discussed:
(Click on the photo to open the link)


Basic and Advanced Routines with Foam Roller Exercises
Now that you’re familiar with some essential foam roller techniques and how to target specific muscle groups, let’s outline both basic and advanced routines to suit different fitness levels:
Basic Foam Roller Routine:
- Full-Body Warm-Up (5 minutes): Perform broad sweeping strokes along the major muscle groups—quads, hamstrings, calves, and back—to prepare your muscles for deeper work.
- Targeted Muscle Release (3-5 minutes per muscle group): Spend 1-2 minutes on each muscle group, using techniques such as pressure points, cross-fiber friction, and pin-and-stretch. Focus on any areas of tension or discomfort.
- Cool Down and Stretching (5 minutes): After foam rolling, incorporate gentle stretches for the same muscle groups to enhance flexibility and relaxation.
Advanced Foam Roller Routine:
- Full-Body Warm-Up (5 minutes): Perform broad sweeping strokes as in the basic routine.
- Intense Muscle Release (5-7 minutes per muscle group): Spend 2-3 minutes on each muscle group, incorporating a combination of techniques. Experiment with different angles and movements to target deeper layers of tissue.
- Dynamic Movement Integration (5 minutes): After foam rolling, perform functional movements that engage the muscles you’ve just released. This can help improve muscle activation and mobility.
- Specific Sports/Activities Focus (5 minutes): If you have a specific sport or activity, allocate time to focus on foam rolling techniques that address the muscle groups most engaged in that activity.
- Cool Down and Stretching (5 minutes): Conclude your routine with gentle stretches for all targeted muscle groups.
Rolling Towards Your Better Health
the world of fitness is rich with complementary tools that can enhance your foam rolling experience. Consider pairing your foam roller with a supportive yoga mat, providing comfort and stability during your sessions. The combination of foam rolling and yoga can lead to a holistic practice that nurtures both your muscles and your mind. Additionally, exercise balls can serve as effective companions to your foam roller, offering dynamic support during exercises that engage your core and balance. This synergy of tools amplifies the benefits of each, elevating your fitness regimen to new heights.
Read more about yoga mats and exercise balls!